I have been working hard on my craft since 2004, and I think I have a skill level that shows in my work. I am the do over queen and there are many heads without bodies to suggest that these mistakes drive me to the perfect end. The finished doll always seems to lead to the next doll, one is born out of another. This is why I love making dolls. It is the air I breathe and pretty much defines me. I am a doll maker.
This may sound strange but these bodiless heads and headless bodies speak to me. I have control over the parts and pieces individually, but the position involved in the connection is revealed at the moment the pieces touch one another for the first time. The head moves me to sew it in a certain pose, same with the hands and arms. The whole doll forms itself to be expressive according to its idea of itself.
Just joking, don't plan on taking that trip.
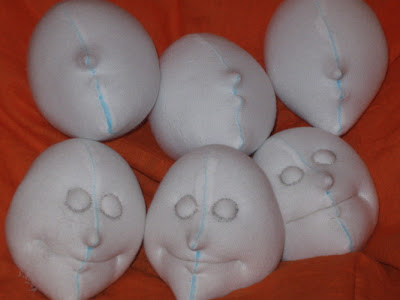 I've really enjoyed making the small heads again. I am so happy with the softness the non sculpted nose has produced in my dolls
.
The photo above shows the heads before and after the needlesculpting and before they get stiffened.Can you see why doll making makes me so happy? The evolution between the faceless and the expression is the journey that I love . . . . .
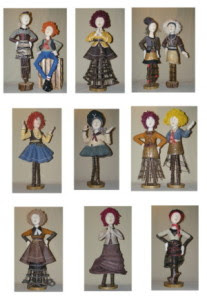
I love stretch knit fabrics and stripes of course make them all the better. I wish I had better places to shop around town for such fabrics, but no. I chance upon all my fabrics and then I buy yards of the stuff.
 I tend to score the best stuff at thrift stores. Other people's useless things become quite cherished by me and my dolls.
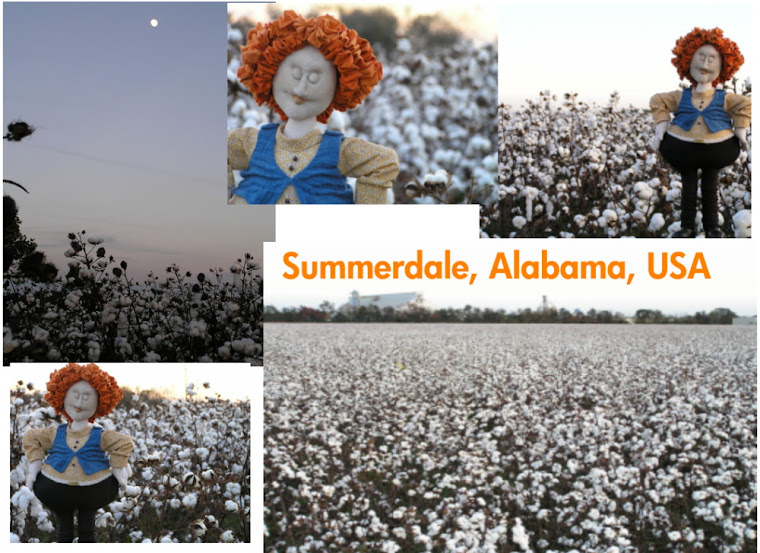
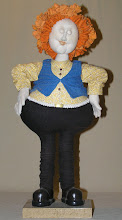
 For this second doll I made a vest out of an orange/pink print. It has taken me a couple of days to fall in love with the whole look, but now I think it is perfect. Not just any doll could pull this outfit off.
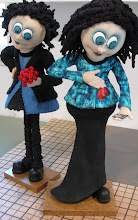
I am always amazed at the creations I come up with. Didn't think boy dolls could be so fancy, but I guess I was wrong. . . . . . . . . .
These two fellows will be dressed in their best. I really love making these hats, especially since I figured out how to make them. Figured it out all on my own. Granted I cut some pieces wrong, but I have ended up with a great hat. I would explain how I made these, but I did not take pictures of my progress. I will do this though on the next hat I make. . .
 I have had these guys floating around in my head for a few days now. Inspired by steampunk and "Gangs of New York". Lets see if I can pull this off. . . . . .

 I've really enjoyed making the small heads again. I am so happy with the softness the non sculpted nose has produced in my dolls. The photo above shows the heads before and after the needlesculpting and before they get stiffened.


.JPG)


.JPEG)